
How We Build
What are the differences between a traditional structural Slab and Post Tension? How does a slab differ from flat work?
Traditional Slab vs. Post-Tension Slab
Let’s look at the differences:
A traditional slab is engineered by a licensed structural engineer. The design is based on soil samples or soil reports (often from the county Agricultural Extension office or a geotechnical report) and the floor plan provided by the architect. The slab includes beams that are typically 24 to 36 inches deep on level ground and can be deeper where elevation changes or soil conditions require it. These beams run around the perimeter and under load-bearing walls.
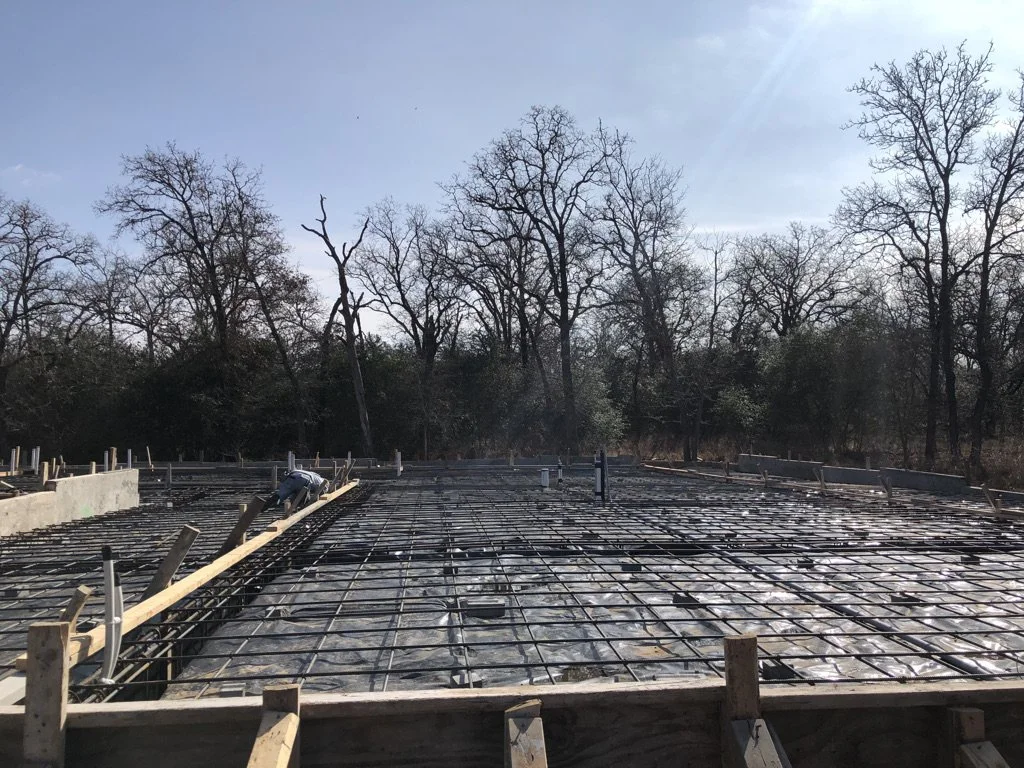
Inside the beams, the engineer specifies four continuous steel rebar bars (commonly 5/8" or 3/4") that are tied together with stirrups. Across the rest of the slab, 1/2" rebar is placed in a grid, usually every 12 inches. This creates a rigid steel skeleton that reinforces the concrete.
A post-tension slab is also engineered and accounts for soil conditions. Instead of conventional rebar, high-strength steel cables are placed in the beams and slab. After the concrete has cured, the cables are tensioned (tightened) to a specified force. The main advantages are typically lower cost and fewer visible surface cracks.
At UCH, we build traditional rebar slabs. While post-tension cables are designed to allow some movement, we believe a rigid rebar system provides more predictable long-term performance. In our experience, the majority of slab failures we have seen have been post-tension systems.
Note: This is based on our field experience and is not a substitute for engineering advice. Every project is designed by a licensed engineer according to the specific soil and structural requirements.
Flat Work
Flat work covers driveways and sidewalks. We typically form these with 2x4 or 2×6 lumber and place ½-inch rebar in the field.
Flat work is significantly less expensive than a full structural slab. Current pricing for flat work is generally $6–$7 per square foot, while a structural slab starts around $17 per square foot and goes up from there.
We always support the rebar so it stays off the ground (commonly on bricks or approved chairs). Building inspectors check this, though engineers do not typically inspect flat work.
The Slab Process
A slab starts with the location you choose for the home. From there, the work proceeds in clear stages.
Layout & Forms
The slab contractor sets batter boards and runs string lines. These establish the exact height of the slab and the location of the forms. This is also when the foundation is squared. Checking for square is critical—your builder should verify it independently. An out-of-square slab creates problems that follow the house through framing, finishes, and beyond. Once the batter boards are set and a laser level is used to establish height and level, the forms are placed. Forms shape the concrete and are typically built from 2x lumber with plywood attached.
Plumbing Rough-In
After the forms are in place, the plumber roughs in the sewer, drain lines, and water supply. The builder should confirm that all vent and drain lines that will rise into walls are positioned correctly so they land inside the future wall cavities. The plumber then fills the system with water to test for leaks.
Bagging & Moisture Barrier
Next, the bagging crew arrives. Using plastic sheeting, they create what look like sandbags. These bags are placed according to the foundation plan to form the interior beams of the slab. The areas between the bags are filled (commonly with caliche or similar fill). Note that this is typical for many residential slabs. Commercial slabs are usually different: the existing soil is excavated to a depth specified by the engineer, replaced with engineered fill, compacted in lifts, and monitored by a third-party testing firm.
Once bagging is complete, the slab contractor installs a moisture barrier (typically 6-mil or thicker black plastic).
Steel & Inspections
After the moisture barrier is down, the steel is placed—rebar in the beams and the grid throughout the field of the slab. This is also the time to coordinate with your electrician so any conduit for the electrical service can be installed before the pour.
Note on post-tension slabs: On a post-tension system the cables are placed in the beams and slab before the pour (instead of conventional rebar). After the concrete has cured to a specified strength, the cables are tensioned with a hydraulic jack to the force required by the engineer. We prefer traditional rebar slabs for the reasons outlined earlier.
With the steel in place, the forms are braced and inspections are scheduled. In a municipality, the building inspector will check both the plumbing and the slab reinforcement. The structural engineer will also inspect and approve the work before stamping the plans. Outside city limits, the engineer’s inspection is often the primary required review.
The Pour
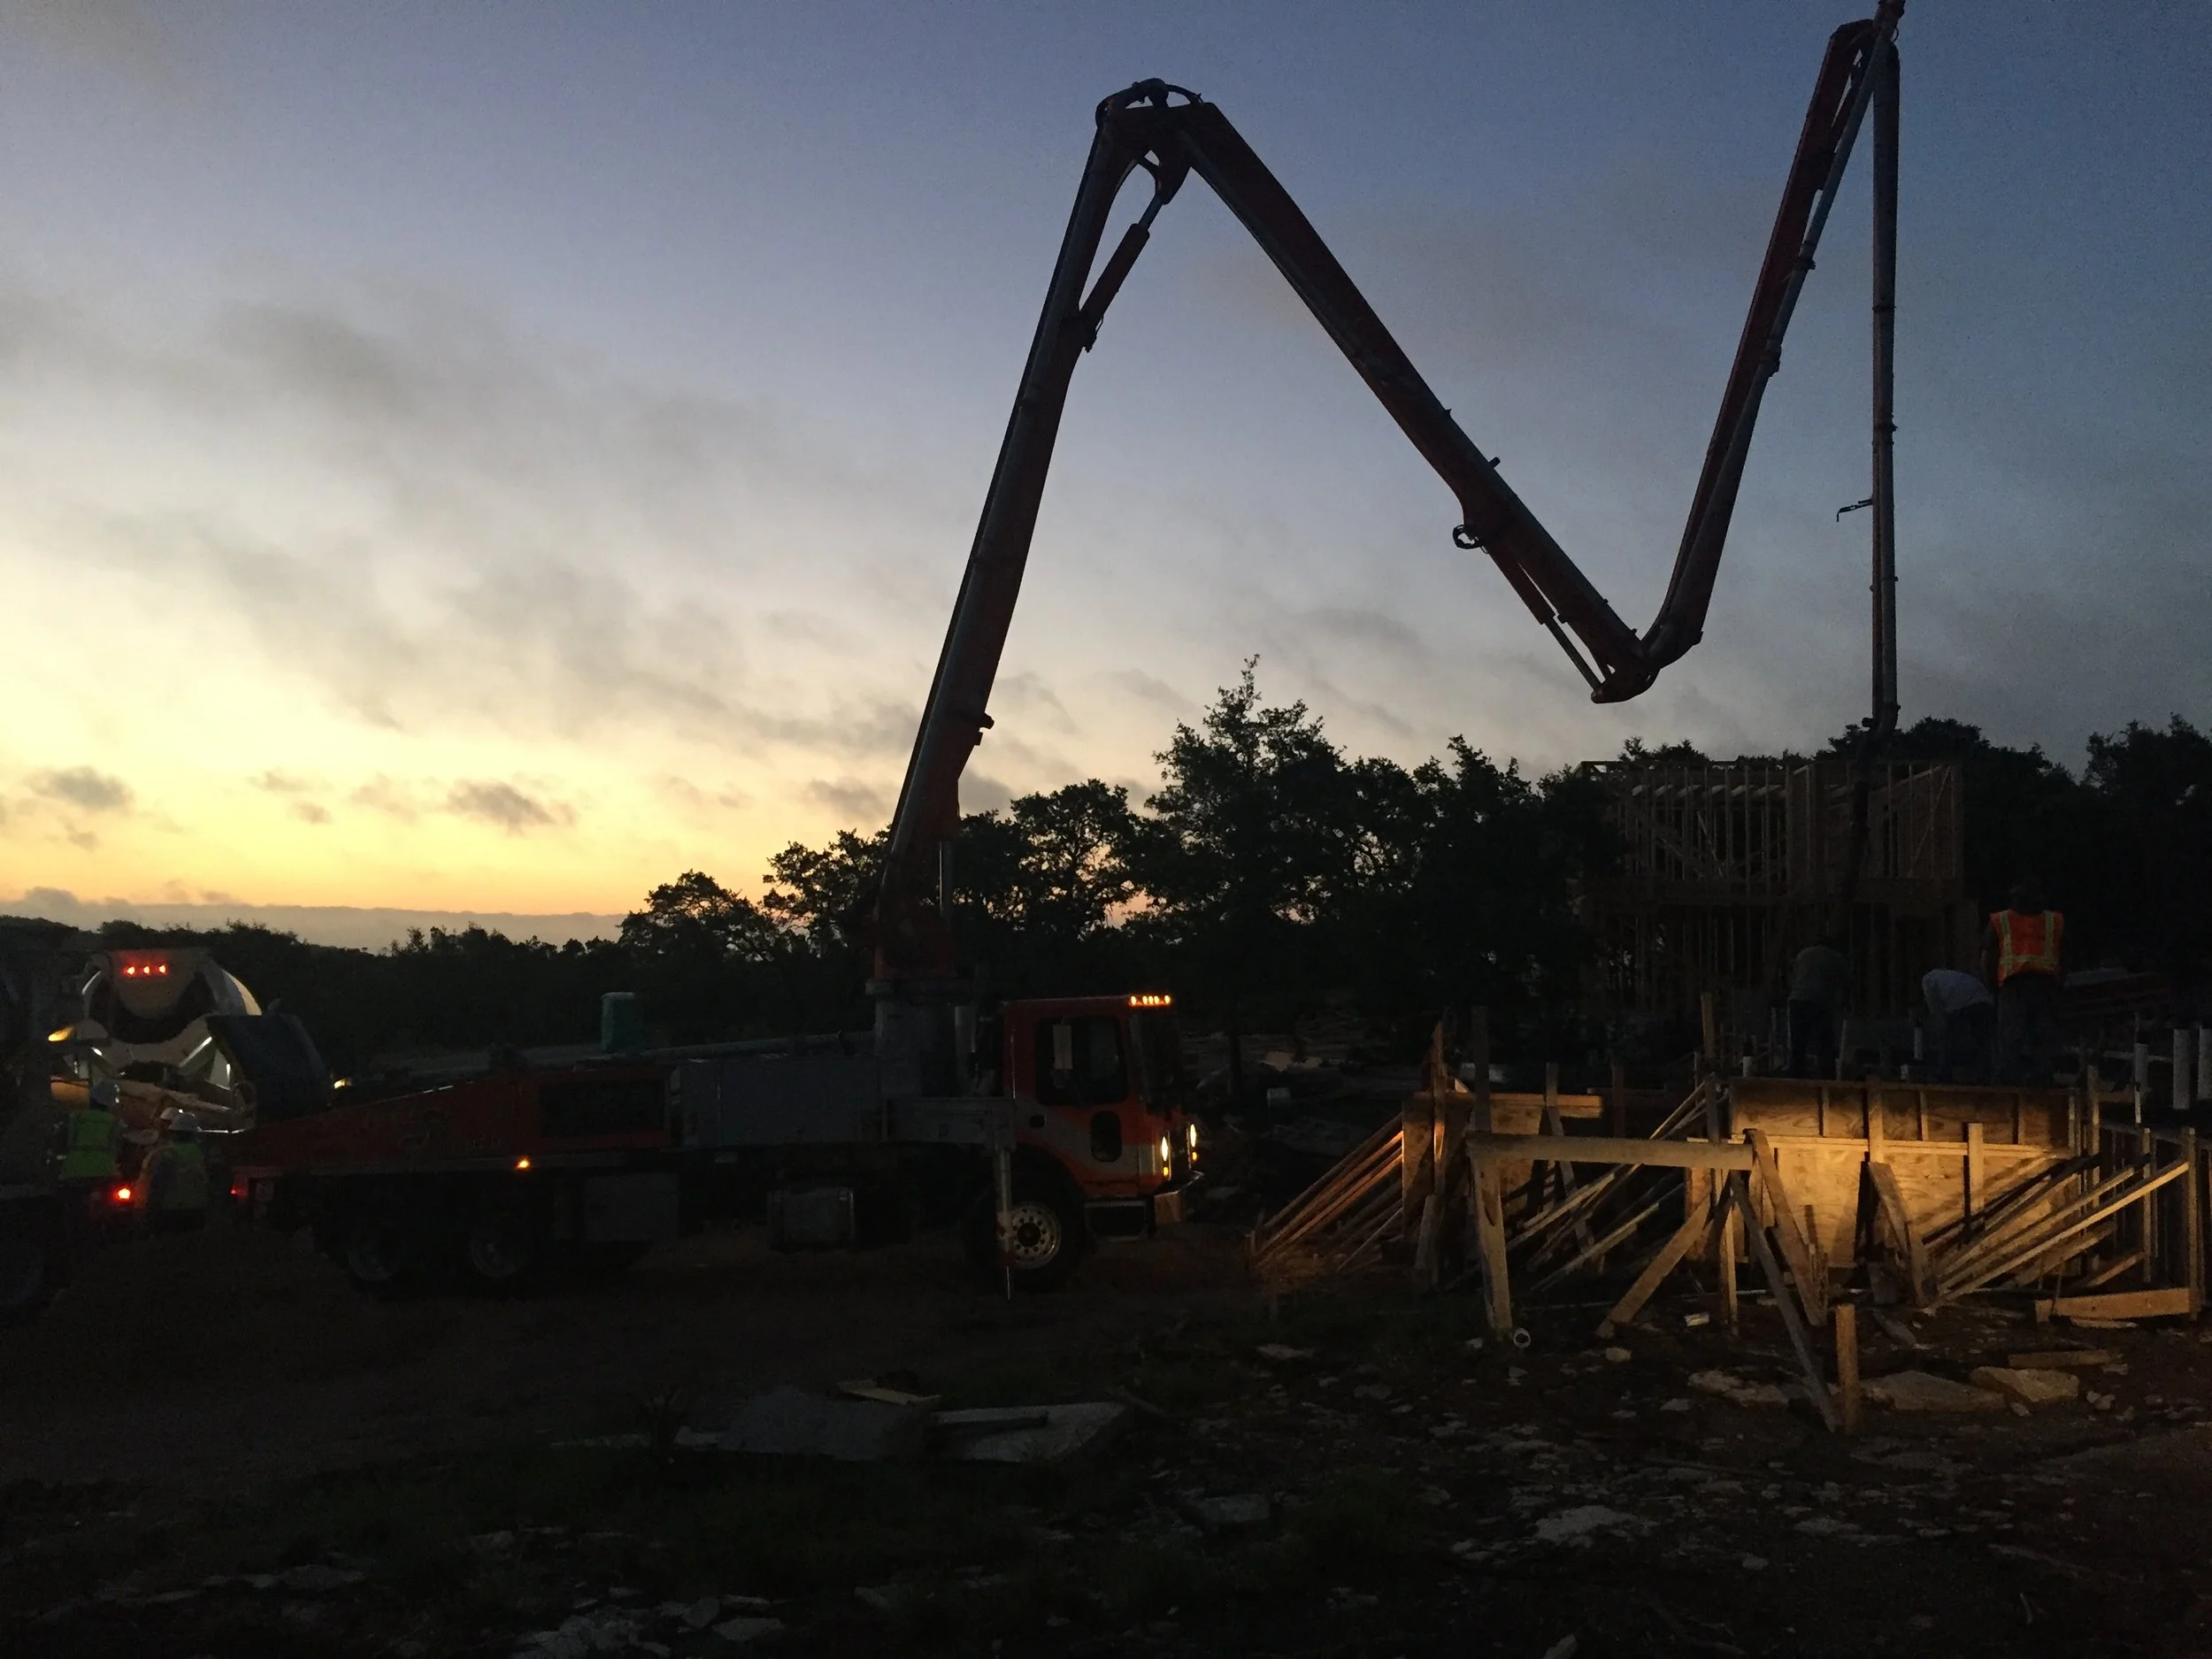
Most custom homes require a concrete pump truck—the large boom you see on job sites. Check the concrete slump to confirm it matches the engineer’s specifications. Concrete trucks discharge into the pump, which places the concrete across the slab. Once the pour is finished, the crew allows the concrete to set up slightly before beginning the finish work, which can take several hours.